Printable engineering prototypes
The fit lab can request a personalized, checked ZIP when the private builder is connected. No tagged manufacturing release exists yet.
Printable eyewear, explained like a human
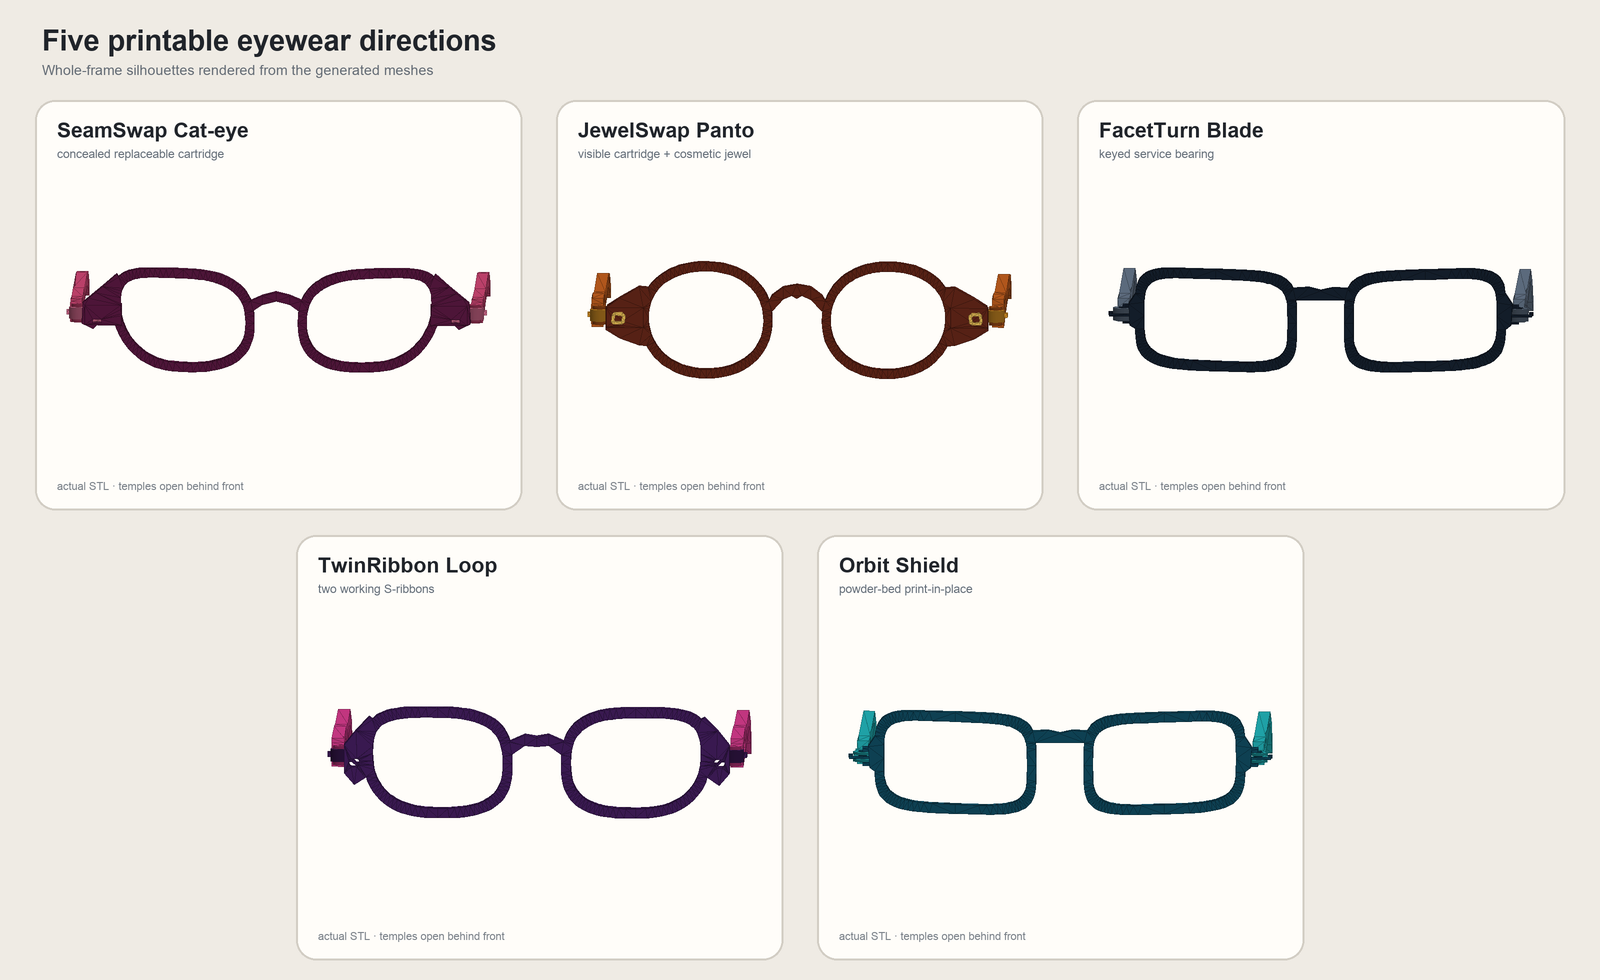
Five strange little hinge ideas, one honest fit guide, and zero pretending a prototype is already a finished medical product.
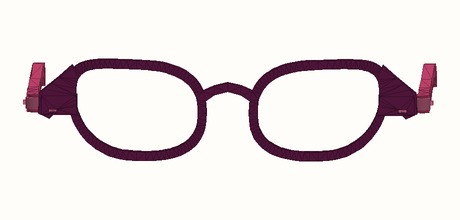
Truth first
The hinges and optical interfaces are real CAD. Comfort, fatigue, as-printed glazing, and product safety still need physical proof.
The fit lab can request a personalized, checked ZIP when the private builder is connected. No tagged manufacturing release exists yet.
120° V-grooves, STEP/STL fronts, 1:1 trace datums, three dummy-lens fits, and a groove coupon are included.
No real nose, temple, cheek, ear, sweat, or long-cycle wear study has happened.
The optician must trace the finished print, dummy-glaze it, inspect retention and stress, and choose the final bevel.
Pick your creature
Selecting one updates the fit recipe and assistant prompt below.
The tiny fit quest
This is the easiest and most reliable noob route. Read three numbers, measure one width, then tell us what feels annoying.
Look inside either arm. The numbers mean lens width, bridge width, and arm length, all in millimeters.
Lay the glasses flat. Measure the widest front width with a millimeter ruler, including the hinge bumps.
Pinching, slipping, cheek contact, or funny arm length tells us more than a complicated face scan.
PD, optical center, lens bevel, groove geometry, frame curve, and final glazing should be verified professionally.
Make your starting recipe
Use a pair that already feels close. Every choice updates the recipe below—no face scan or prescription guessing.
50 □ 20 · 145 · 138 mm overall
The automatic ZIP changes front width and straight temple length only. Bridge geometry, lens shape, wrap, splay, ear bend, and hinge redesign remain advanced engineering work.
Poke the hinges
Open the real 3D viewer in its own lightweight workspace. FacetTurn also has a service position, and hidden tabs stop rendering automatically.
A tiny movement workbench
Switch between all five designs, orbit the assembly, zoom into each hinge, and scrub the right and left arms separately from 0° to 90°. Near full closure, the rigid viewer flags the two-arm stacking test that still needs a real PA11 print.
 keeps the main page gentle on your battery ♡
Your gentle robot helper
It works in more places, asks for photos one at a time, makes a visual try-on, and returns a clean CAD change recipe. It also knows what it must not pretend to measure.
Help me visually try on and safely customize an experimental 3D-printed glasses design.

Start by telling me this is a visual and engineering prototype workflow, not a prescription, medical measurement, or safety certification. Ask me for information one small step at a time.

Before changing CAD, inspect the current project context:
- Repository and live spec: https://github.com/batmanscode/open-specs
- Machine-readable design catalog: this site's /open-spec.json

Treat the repository's SPEC_detailed.md and catalog readiness fields as current. Do not assume a generated file has passed physical testing merely because it builds.

My starting recipe:
{
  "schema_version": "1.0.0",
  "base_design_id": "jewelswap-panto",
  "target_frame_width_mm": 138,
  "reference_boxed_size_mm": {
    "eye": 50,
    "bridge": 20,
    "temple": 145
  },
  "bridge_coupon_profile": "standard",
  "fit_issue": "pretty-good",
  "output_process": "fdm-fit"
}

First ask me to attach:
1. A straight-on face photo at eye level, neutral expression, good light, no beauty filter.
2. A side photo at eye level.
3. One photo holding a standard bank card flat near the plane of my face for rough visual scale.
4. The three numbers printed inside a comfortable pair of glasses, if I have one.

When I provide photos, create a tasteful visual try-on using JewelSwap Panto. Preserve my real face and do not beautify, reshape, recolor, or invent facial features. Treat camera-based scale as approximate. Do not infer my prescription or claim the overlay proves comfort.

Then help me produce a Build123d change plan. Preserve all hinge clearances, mechanism dimensions, and the declared 120-degree optical groove cross-section. The version-one automatic builder may change only front width outside the lens/hinge interfaces and straight temple length. It records eye/bridge measurements for base selection and bridge profile as a coupon preference; it does not silently redraw prescription geometry or claim a validated full-frame bridge shape. Treat changes beyond that envelope as an advanced engineering task in a private Codex workspace. Never uniformly scale the finished STL. Require the optical lab to trace the actual finished print, dummy-glaze it, check mounted stress, and approve the prescription bevel before calling anything prescription-ready.

End with three outputs: a visual mockup, a plain-language fit checklist, and a machine-readable customization recipe.The CAD, fit rules, checks, and honest limits live together in public. A tagged manufacturing release does not exist yet, so print the coupons before the whole weird thing.